How-To//7 min read/Jason Gordon
Integrating Zapier with QuickBooks Online: The Complete Technical Guide
A lot of clients have been asking about connecting Zapier to QuickBooks Online, setting up OAuth, mapping invoice data, and avoiding the silent failures that break accounting automations. We wrote this guide to cover it end-to-end.
Prerequisites
Before you begin, make sure you have an active QuickBooks Online account (Simple Start, Essentials, Plus, or Advanced), a Zapier account (many QBO actions require a paid plan), and Admin or Company Admin role in QBO. Limited roles will cause OAuth permission failures that are extremely difficult to debug.
Browser Compatibility
Use Chrome or Firefox for the OAuth flow. Safari has known issues with Intuit's authorization redirect that can leave you stuck in a login loop.
Part 1: Authentication via OAuth 2.0
QuickBooks Online uses OAuth 2.0 exclusively. Zapier handles the flow automatically, but understanding what happens under the hood prevents most auth failures we see in production.
Step-by-Step Connection
- Navigate to zapier.com → Click "+ Create Zap" → Search for QuickBooks Online in the app selector
- Click "Sign in to QuickBooks Online": Zapier redirects to Intuit's authorization server
- Log in with your QBO admin credentials, not your Intuit Community or ProAdvisor account unless it has direct company access
- If you manage multiple QBO companies, select the correct one, this decision is permanent without re-authenticating
- Grant the requested permissions (read/write access to customers, invoices, payments, items)
- Back in Zapier, rename the connection descriptively, e.g., "QBO - Acme Corp Production"
Critical: Company Selection
The company you select during OAuth is the one Zapier will read and write data from. You cannot change this without disconnecting and re-authenticating. Double-check before clicking Connect.
OAuth Token Lifecycle
~1 hr
- Access Token Lifespan, 100 days
- Refresh Token Lifespan: Auto
- Token Refresh by Zapier, 90 days
- Recommended Keep-Alive Interval: Best Practice
Set a calendar reminder every 90 days to run a test Zap. If no Zap fires for over 100 days, the refresh token silently expires, your automations will stop working with no error notification.
Part 2: Setting Up Triggers for Common Workflows
Workflow 1: New Invoice → Downstream Actions
When a new invoice is created in QBO, you can automatically notify your team in Slack, add a row to a Google Sheet, create a task in Asana, or trigger any number of downstream actions. This is one of the most common automations we build for clients.
- Set Trigger App to QuickBooks Online → Event: "New Invoice"
- Select your authenticated QBO account and optionally filter by amount or customer
- Test the trigger: Zapier pulls the 3 most recent invoices for field mapping
- Key fields: Invoice.DocNumber (user-facing number), Invoice.TotalAmt, Invoice.Balance, CustomerRef.name, Line[].SalesItemLineDetail.ItemRef.name
Workflow 2: New Customer → Sync to CRM
When a new customer is added in QBO, automatically create or update a contact in HubSpot, Salesforce, or Mailchimp. One important caveat: QBO does not require an email address for customer creation, so your Zap must handle the case where PrimaryEmailAddr is null.
Null Email Handling
QBO doesn't require email for customer records. If your CRM action requires an email field, add a Zapier Filter step to skip records where Customer.PrimaryEmailAddr is empty, otherwise the Zap will error on every customer without an email.
Workflow 3: New Payment → Update Tracking Sheet
Trigger on "New Payment" to capture Payment.TotalAmt, Payment.TxnDate, and LinkedTxn[].TxnId (the invoice the payment is applied to). You can cross-reference LinkedTxn.TxnId with a Search Step to look up the original invoice details.
Workflow 4: External Event → Create Invoice in QBO
New order in Shopify, WooCommerce, or Stripe → auto-create invoice in QBO. This is the most complex workflow because it requires precise data mapping. Required fields: CustomerRef (must match an existing QBO Customer ID), Line items with Amount and DetailType, ItemRef matching an existing Product/Service, and TaxCode if your company has sales tax enabled.
Part 3: Data Mapping Best Practices for Accounting Accuracy
This Is Where Most Integrations Break
The Zap runs successfully, returns a 200 status, and creates a record in QBO, but the data is wrong. Incorrect amounts, duplicate customers, mismatched accounts. Invest the time here to prevent silent accounting errors.
1. Always Map to QBO Entity IDs
QuickBooks is ID-driven internally. When creating invoices or transactions, use QBO entity IDs rather than plain text names. A CustomerRef of "Acme Corp" might match multiple records or none at all. Use a Search Step (Find Customer in QuickBooks Online) before your action step to dynamically resolve the correct ID.
| Approach | Mapping | Risk Level |
|---|---|---|
| Bad: Name only | CustomerRef.name → "Acme Corp" | 🔴 High, may match wrong customer or create duplicate |
| Better: ID + Name | CustomerRef.value → "123" (QBO ID) + CustomerRef.name → "Acme Corp" | 🟢 Low, deterministic match |
2. Currency & Amount Formatting
| Issue | Impact | Fix |
|---|---|---|
| Sending $1,500.00 | QBO API rejects or returns 0 | Strip formatting, send 1500.00 |
| Amounts as strings "150" | Intermittent failures | Ensure numeric type |
| Multicurrency mismatch | Transaction in wrong currency | Map CurrencyRef explicitly |
Use a Formatter step → Numbers → Format Number to strip currency symbols and commas from source data before mapping to QBO. This one step prevents the majority of amount-related failures.
3. Date Formatting
QBO requires dates in ISO 8601 format: YYYY-MM-DD. Use Zapier's Formatter → Date & Time → Format → Output: YYYY-MM-DD. Never pass epoch timestamps or human-readable dates like "March 5, 2026" directly, they will be silently rejected or misinterpreted.
4. Tax Code Mapping
- Map TaxCode to "TAX" for taxable items or "NON" for non-taxable
- For manual tax rates, map TaxRateRef.value to the specific rate ID from QBO
- Failing to map tax codes correctly results in invoices that are out of balance or trigger QBO validation errors
- Have your accountant or bookkeeper verify tax code mappings before go-live
Part 4: Common Pitfalls to Avoid
Pitfall 1: Non-Admin QBO Account
If you authenticate with a restricted-role account, the Zap appears to connect successfully but fails when writing data, returning a vague "403 Forbidden" or "Insufficient Permission" error. Always authenticate with a Company Admin account.
Pitfall 2: Duplicate Record Creation
If your trigger fires multiple times (webhook retries), you end up with duplicate invoices or customers. Fix: Use Search-before-Create logic, add a "Find Customer" step before "Create Customer." If found, use "Update Customer" instead.
Pitfall 3: Sandbox vs. Production Mix-Up
QBO has a Developer Sandbox at developer.intuit.com. If you accidentally test against production, you create real invoices and customers. Create dedicated Zapier connections labeled "QBO - Sandbox" and "QBO - Production." Never test with production credentials.
Pitfall 4: Polling Delay & Duplicates
Zapier polls QBO every 1–15 minutes depending on your plan. If records are created faster than the poll interval, you may process the same record twice. Use Zapier's built-in Filter steps or a lookup table to track processed transaction IDs.
Pitfall 5: Mismatched Chart of Accounts
Deposits or payments mapped to the wrong account category (revenue instead of accounts receivable) can corrupt your financial reports. Have your accountant review the account mapping in every Zap before go-live.
Pitfall 6: QBO Rate Limits (500 req/min)
High-volume Zaps syncing thousands of orders can hit QBO's rate limit. Enable Zapier's built-in throttling, use Delay steps to pace requests, or consider a direct API integration for very high-volume scenarios.
Part 5: Troubleshooting with Zapier Task History
When something breaks, Zapier's Task History is your first stop. Go to your Dashboard → click the Zap → Task History tab. Filter by Status (Error, Success, Filtered) and date range to find the failed execution.
Common QBO Error Codes
| Error Code | Message | Likely Cause |
|---|---|---|
| 6000 | Application error | Malformed request body |
| 6240 | Duplicate Document Number | Invoice number already exists |
| 401 | Unauthorized | OAuth token expired, re-authenticate |
| 400 | Required field missing | Missing CustomerRef or line items |
| 2500 | Object Not Found | Referenced customer/item ID doesn't exist in QBO |
Debugging Process
- Identify the failed task in Task History, look for red Error badges
- Expand the execution log and check each step's input/output data
- Look at the QBO action step specifically, check the request payload for malformed data
- Use the "Replay" function to re-run the failed task after fixing the mapping, no need to recreate source data
- Test in isolation using the Zap Editor's "Test Step" to bypass the trigger entirely
- Enable Error Notifications (Zap Settings), set threshold to 1 consecutive error, not the default 3
Pro Tip: Mid-Zap Logging
Add a Code step (JavaScript/Python) to log intermediate data to Zapier's step output. Add a Zapier Storage step to track every processed transaction ID. Set up a Slack notification at the end of each Zap as a success heartbeat, if you stop receiving them, something broke silently.
Go-Live Checklist
- QBO Admin account ready and correct company identified (production vs. sandbox)
- OAuth completed with admin credentials and connection renamed descriptively
- 90-day refresh token reminder set in your calendar
- All CustomerRef and ItemRef fields mapped to QBO entity IDs (not just names)
- Amounts formatted as plain numbers, no $ signs or commas
- Dates formatted as YYYY-MM-DD (ISO 8601)
- Line items structured with DetailType, Amount, ItemRef, Qty, and UnitPrice
- Tax codes mapped and reviewed with your accountant
- Tested against QBO sandbox first, verified no duplicates created
- Error notifications enabled with threshold set to 1
- Switched to production QBO connection and monitored Task History for 48 hours
- All account and field mappings documented for future reference
Need Help Setting Up Your QuickBooks Automation?
We build custom Zapier + QuickBooks integrations for businesses every week. Whether you need invoice syncing, payment tracking, or a full accounting automation pipeline, we can set it up and make sure it runs reliably.
Calculate Your ROI Schedule Discovery Call
Sources & References
- QuickBooks Online API Documentation - developer.intuit.com/app/developer/qbo/docs/develop
- Zapier QuickBooks Online Integration - zapier.com/apps/quickbooks/integrations
- Intuit OAuth 2.0 Documentation - developer.intuit.com/app/developer/qbo/docs/develop/authentication-and-authorization
- QBO API Rate Limits - developer.intuit.com/app/developer/qbo/docs/develop/troubleshooting
Get insights like this in your inbox
Join SpecLoop Insider for weekly deep-dives on custom software, AI, and operational efficiency. No fluff.
Subscribe
Frequently asked
Questions people ask about this
- Silent OAuth token expiration. The Zap looks connected but stops syncing weeks after setup. Rotate tokens explicitly and add a monitoring Zap that alerts on any run failure: QuickBooks connections drift faster than most other apps.
About the author
Jason Gordon
Founder, SpecLoop
Jason Gordon is the founder of SpecLoop, a spec-driven AI development studio that builds production-grade business applications from a complete specification, in weeks, at flat rate, with 100% code ownership. He also builds GeoTest, a free tool that scores how visible a site is to AI search engines. He writes about AI search, spec-driven development, and why most AI builds never reach production.
Keep reading
Related posts
Engineering
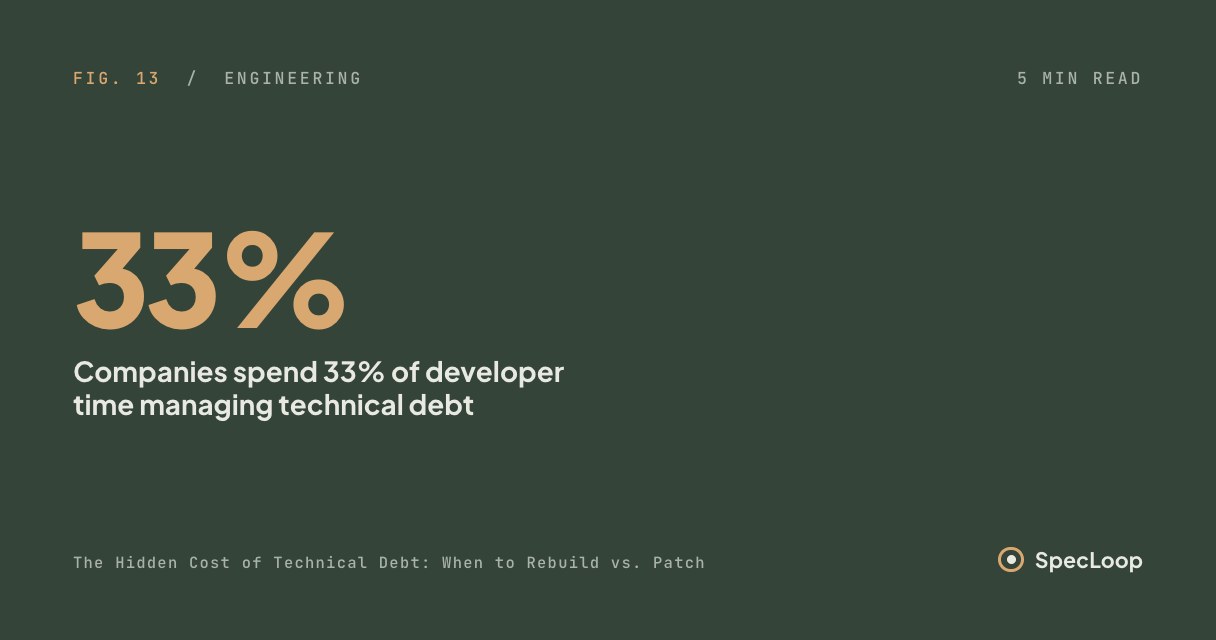
The Hidden Cost of Technical Debt: When to Rebuild vs. Patch
A lot of people have been asking us how to know when their aging software is costing more to maintain than it would to replace. Here's the framework we use with our clients.
GEO & AI Search
How to Build a Site Fully Optimized for GEO in 2026
A lot of people have been asking how to build websites that AI search engines actually cite. This is the complete playbook, from architecture decisions to structured data to content strategy, for making your site a primary source in ChatGPT, Perplexity, Google AI Overviews, and every generative engine that matters.
GEO & AI Search
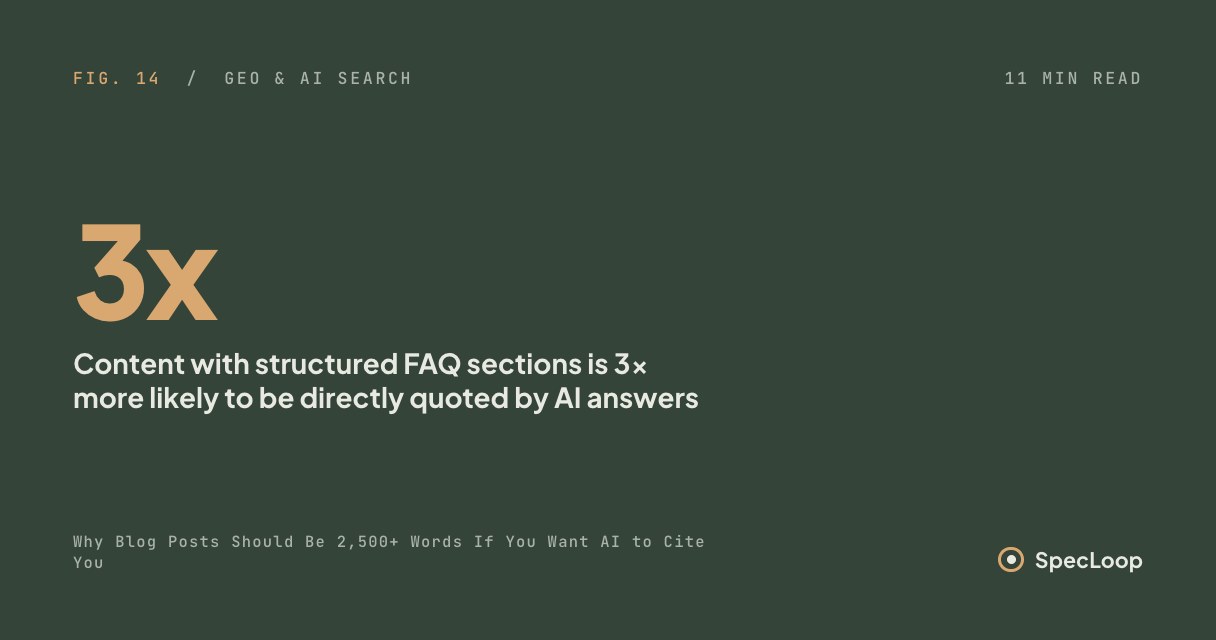
Why Blog Posts Should Be 2,500+ Words If You Want AI to Cite You
A lot of people have been asking us why we recommend long-form content for every client's blog strategy. The short answer: AI search engines don't cite thin content. Here's the full breakdown, the data, the mechanics, and the framework for getting your content quoted by ChatGPT, Perplexity, and Google AI Overviews.
How-To
Microsoft 365 Migration Guide: Moving from GoDaddy to Direct Microsoft Management
A step-by-step guide to moving Microsoft 365 tenants off GoDaddy reseller management and onto direct Microsoft billing: DNS, licence mapping, mailbox continuity, and the cutover checklist we use with clients.
Next step
Want a spec for your build?
We write the full specification before any code is generated, then ship in 30–60 days at one flat rate. You own every line.